Well, not quite, but I did finish my very first sewing project today. I decided to start simple and knocked out a ripstop stuffsack. I figured I'd start with a small one so I wouldn't waste a lot of material in the event it was a failed exercise. I actually thought that was how it was going to turn out but thanks to some encouragement from the folks at Hammock Forums I kept going. Here's how it went down.
1. Measure and mark.
It's hard to tell but I used a fabric pencil to mark things up. Sadly, I learned that you can't just follow the lines in the ripstop and expect things to come out square.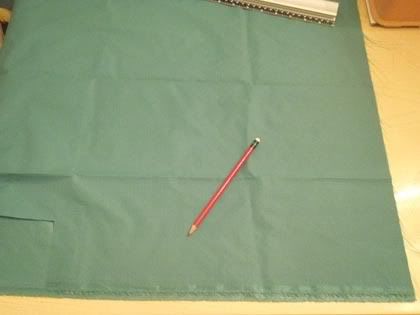
2. Marvel at your cutting job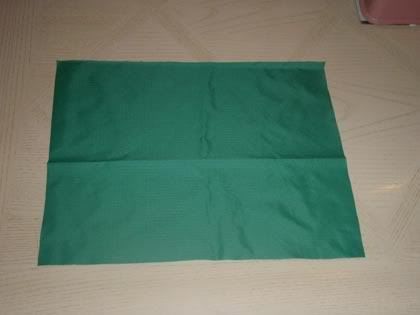
3. Get stitchin'!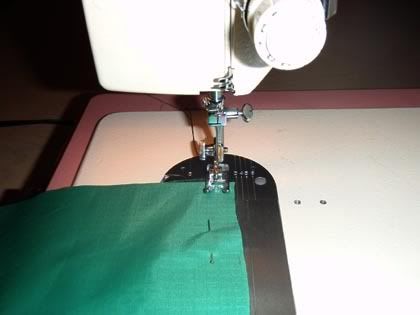
4. Stitch the sides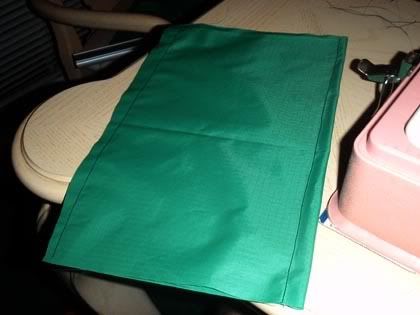
5. Stitch the bottom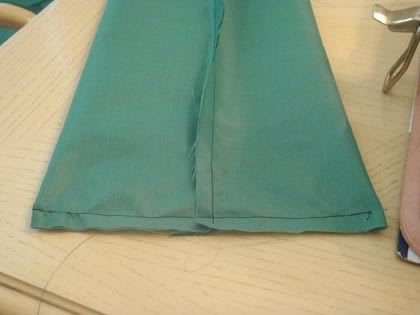
6. Add a reinforcement patch and add a manual buttonhole.
This is where the drawstring will come through the fabric after creating a channel for it to run through.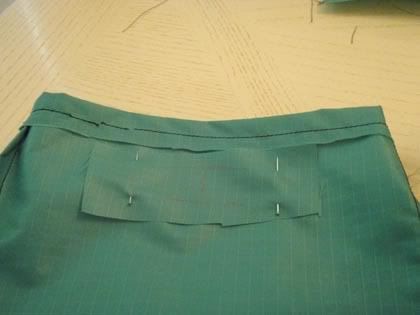
7. Giggle with glee at your finished product.
Uncinched
Cinched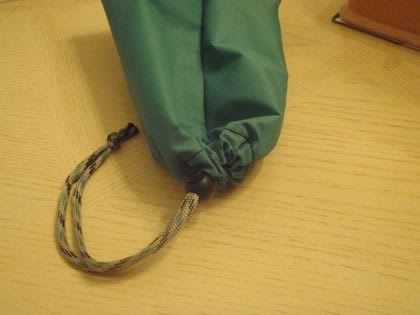
The Whole Shebang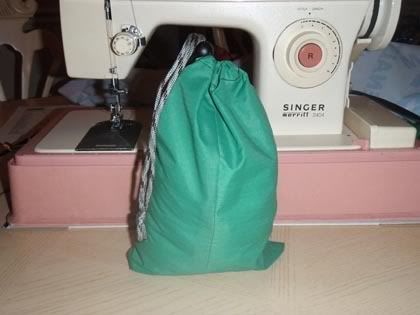
I really wanted to use black paracord for the drawstring but all I had left was camo. Oh well.

Post a Comment